
100% of Your purchase directly supports the mission of a self-funded K-2 business school, empowering young learners to explore creativity, leadership, and entrepreneurial skills from an early age.

Ashlyn's BW: We are Proud Owners of The MyBrite Kit, Fully Transparent with Our Live P&L.
Help Us Build Tomorrow’s Leaders with Every Purchase—Supporting a Self-Funded Business School and After-School Program in Missouri, USA!
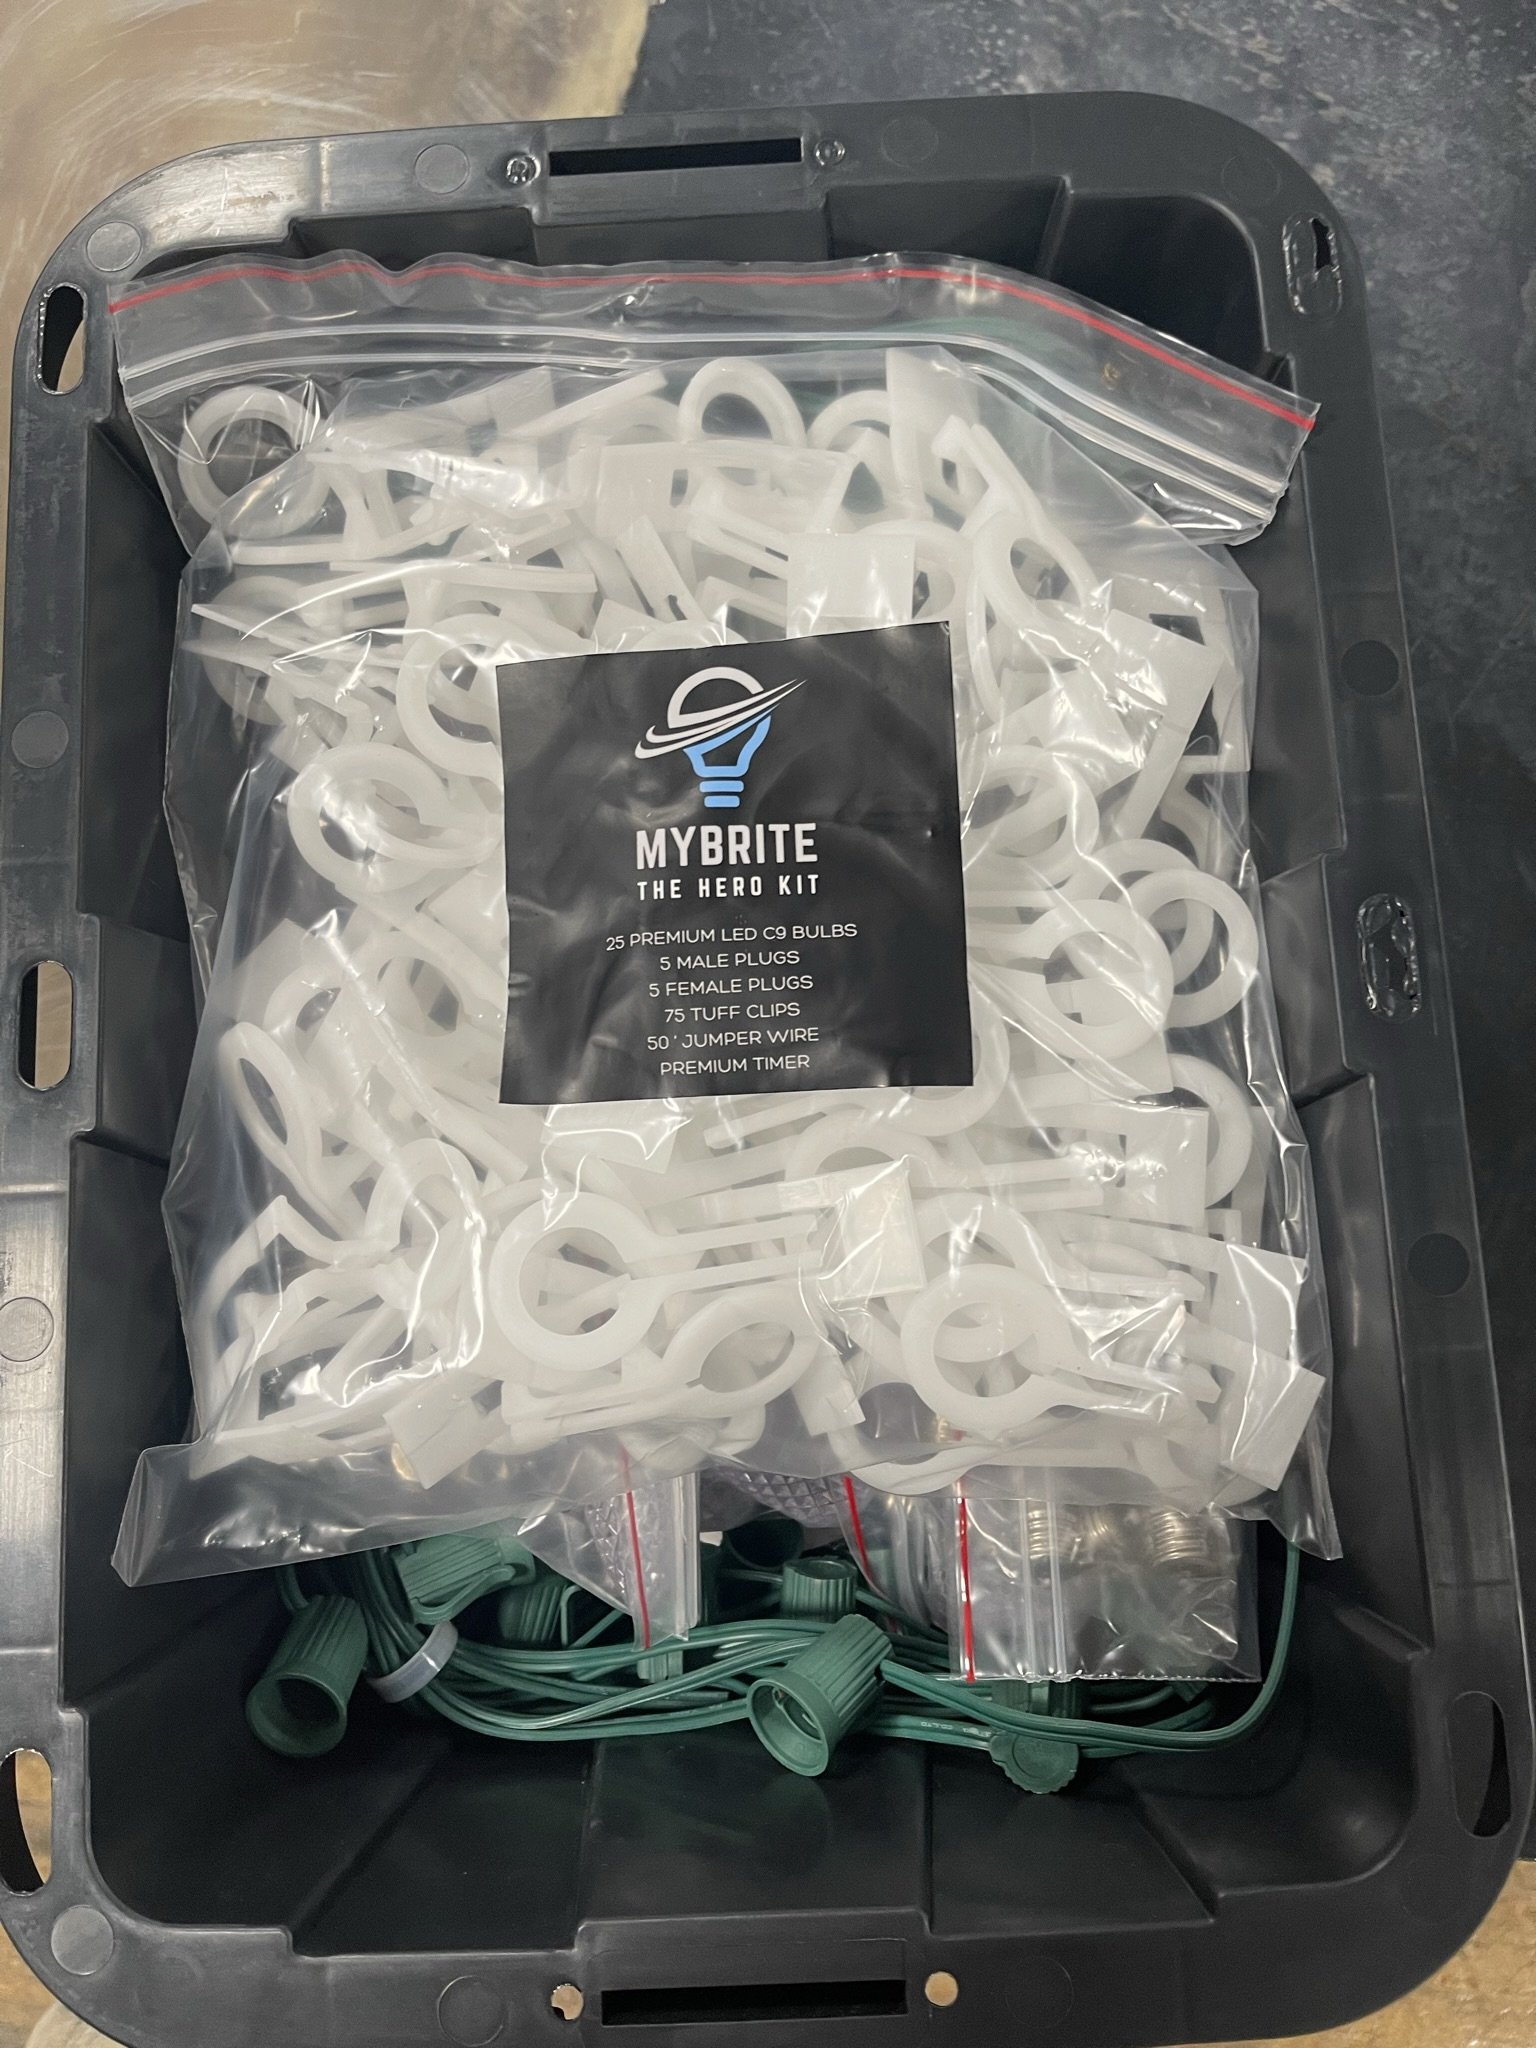
MyBrite Kit Includes.
-
MYBRITE 100' or 150' Socket and Wire
With 1-foot spacing, this durable splice-able wire is designed for easy installation and professional results, giving you the flexibility to cover long stretches of roofline.
-
100 or 150 Commercial-Grade LEDs
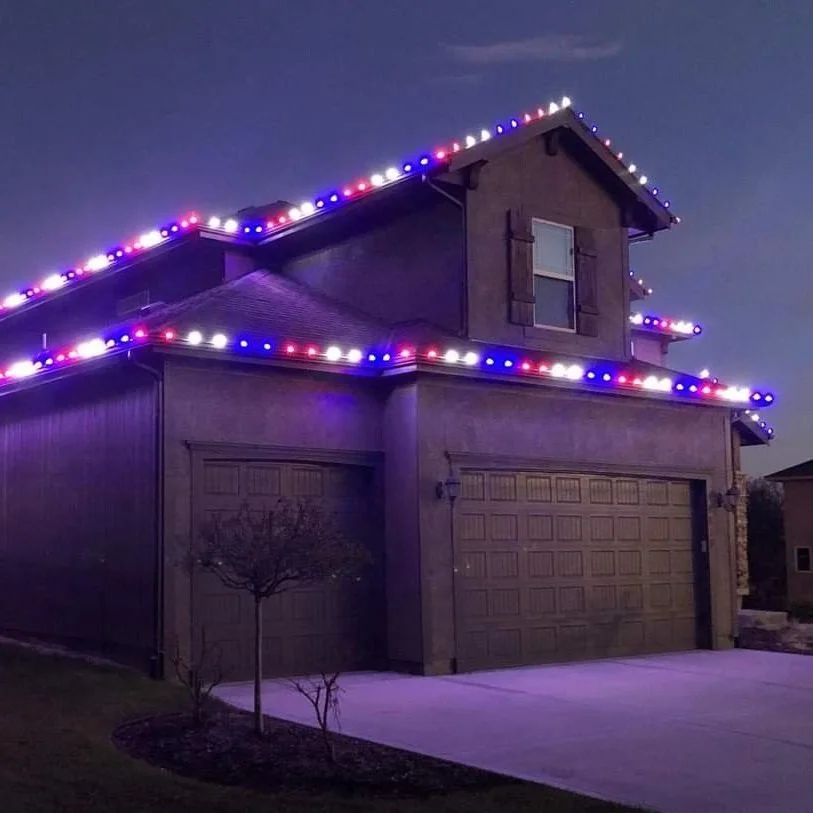
Select your own color combination! Whether you want 1 white, 3 red, or a custom mix of red, blue, and white, you can create the perfect festive look.
-
50 Feet of Bulk Wire
Extra wire for custom installations. Use it to extend your lighting to areas further from your power source.
-
Vampire Plugs
Easily attach plugs where needed to customize your lighting setup without needing to splice wires.
-
Timer
Set your lights to automatically turn on and off, so you can enjoy the display without worrying about manual control.
-
Tuff Clips
Durable clips to secure your lights tightly to your roofline, ensuring they stay in place through wind, rain, or snow.


Steel Roof Considerations
For steel roofs, we include magnetic roofline clips for secure, easy installation. Simply select steel as your roof material when ordering to receive the magnetic clips designed for your setup.
Getting Started with Your Kit
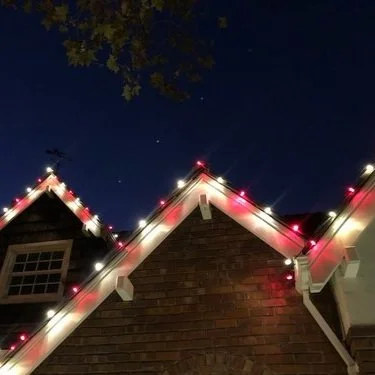
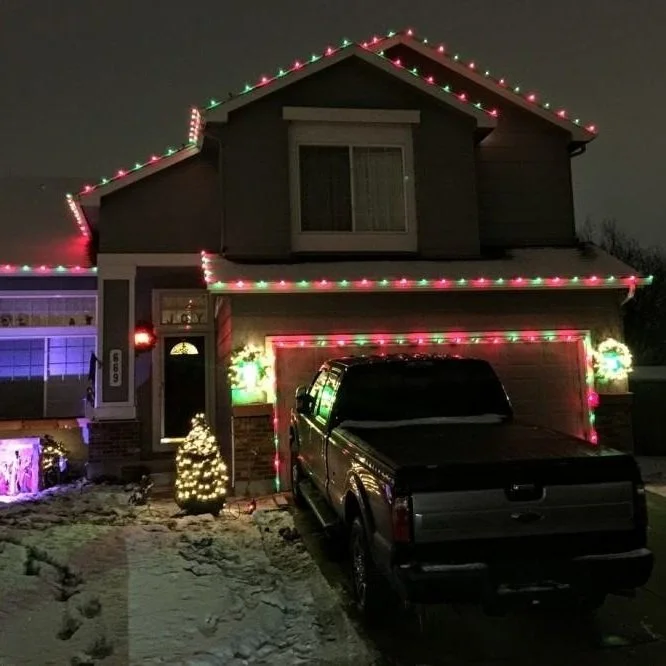
👇2026 Color Combo’s👇
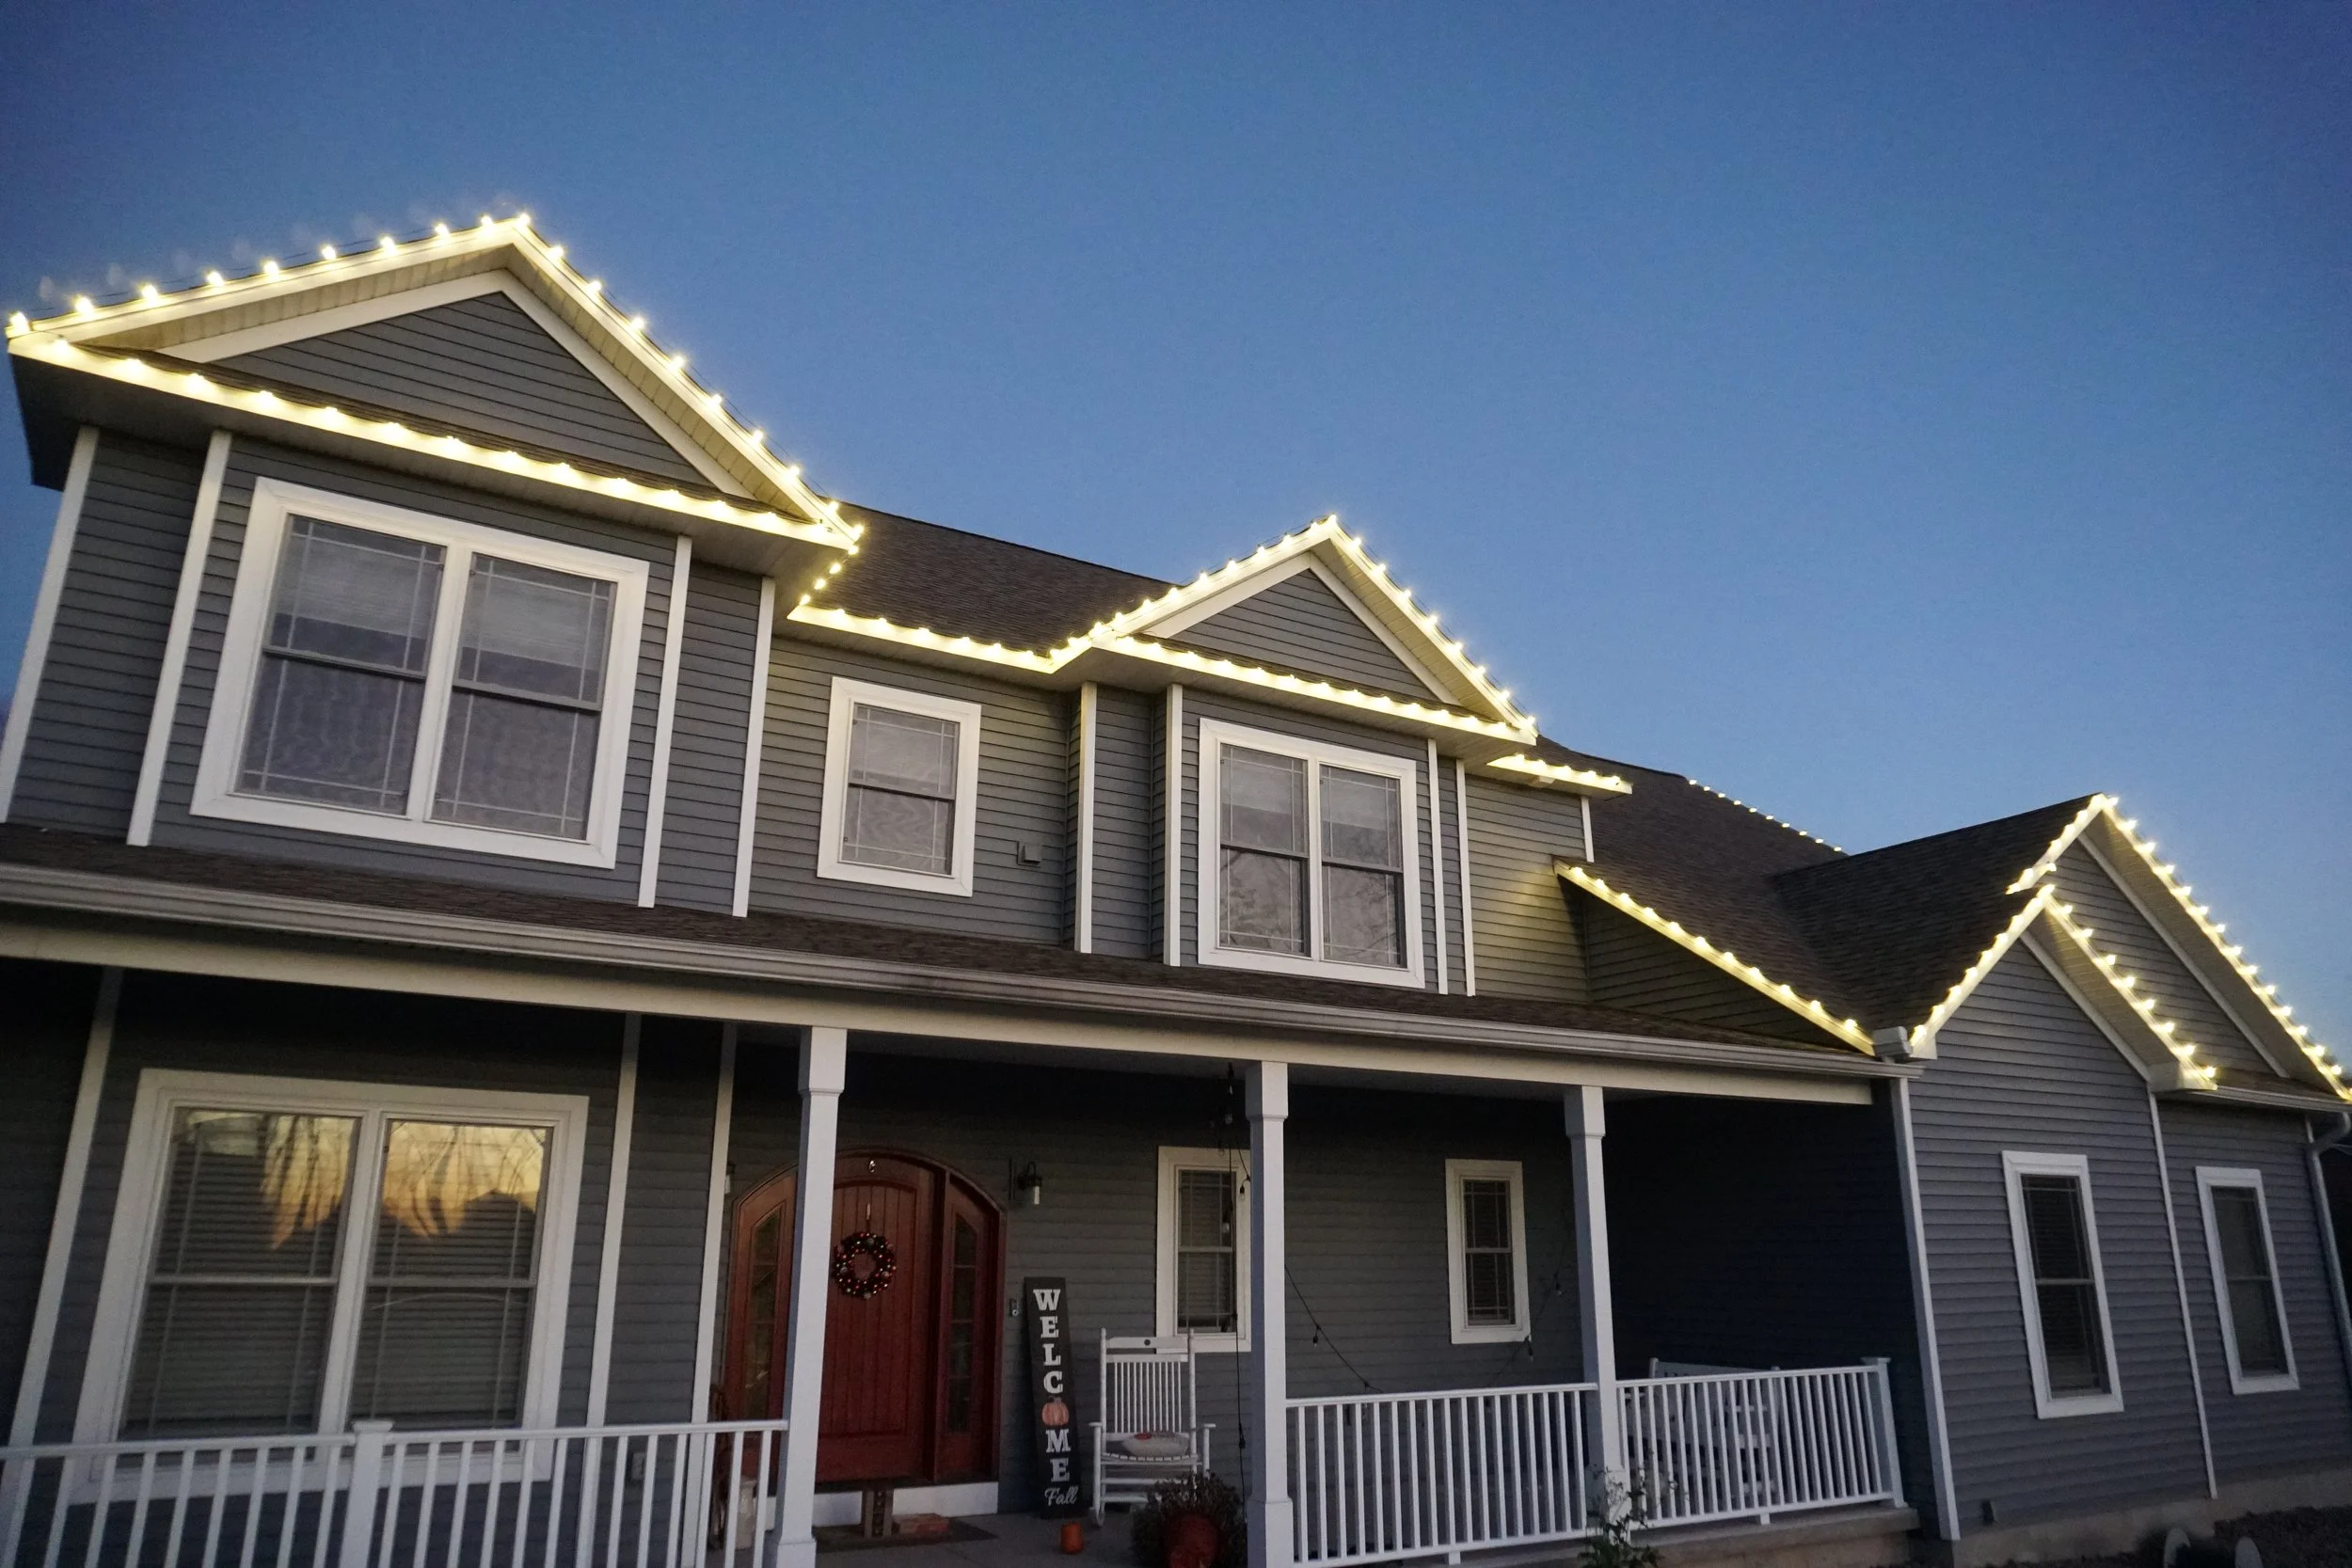
🌟all Warm White 🌟

⚪️⚪️🟢🟢🔴🔴

🔴🔴⚪️⚪️🔵🔵

⚪️🔴⚪️🔴
⚪️🔴🔴⚪️🟢🟢
⚪️⚪️🔴 or ⚪️🔴🔴

100’ MYBRITE KIT
150’ MYBRITE KIT
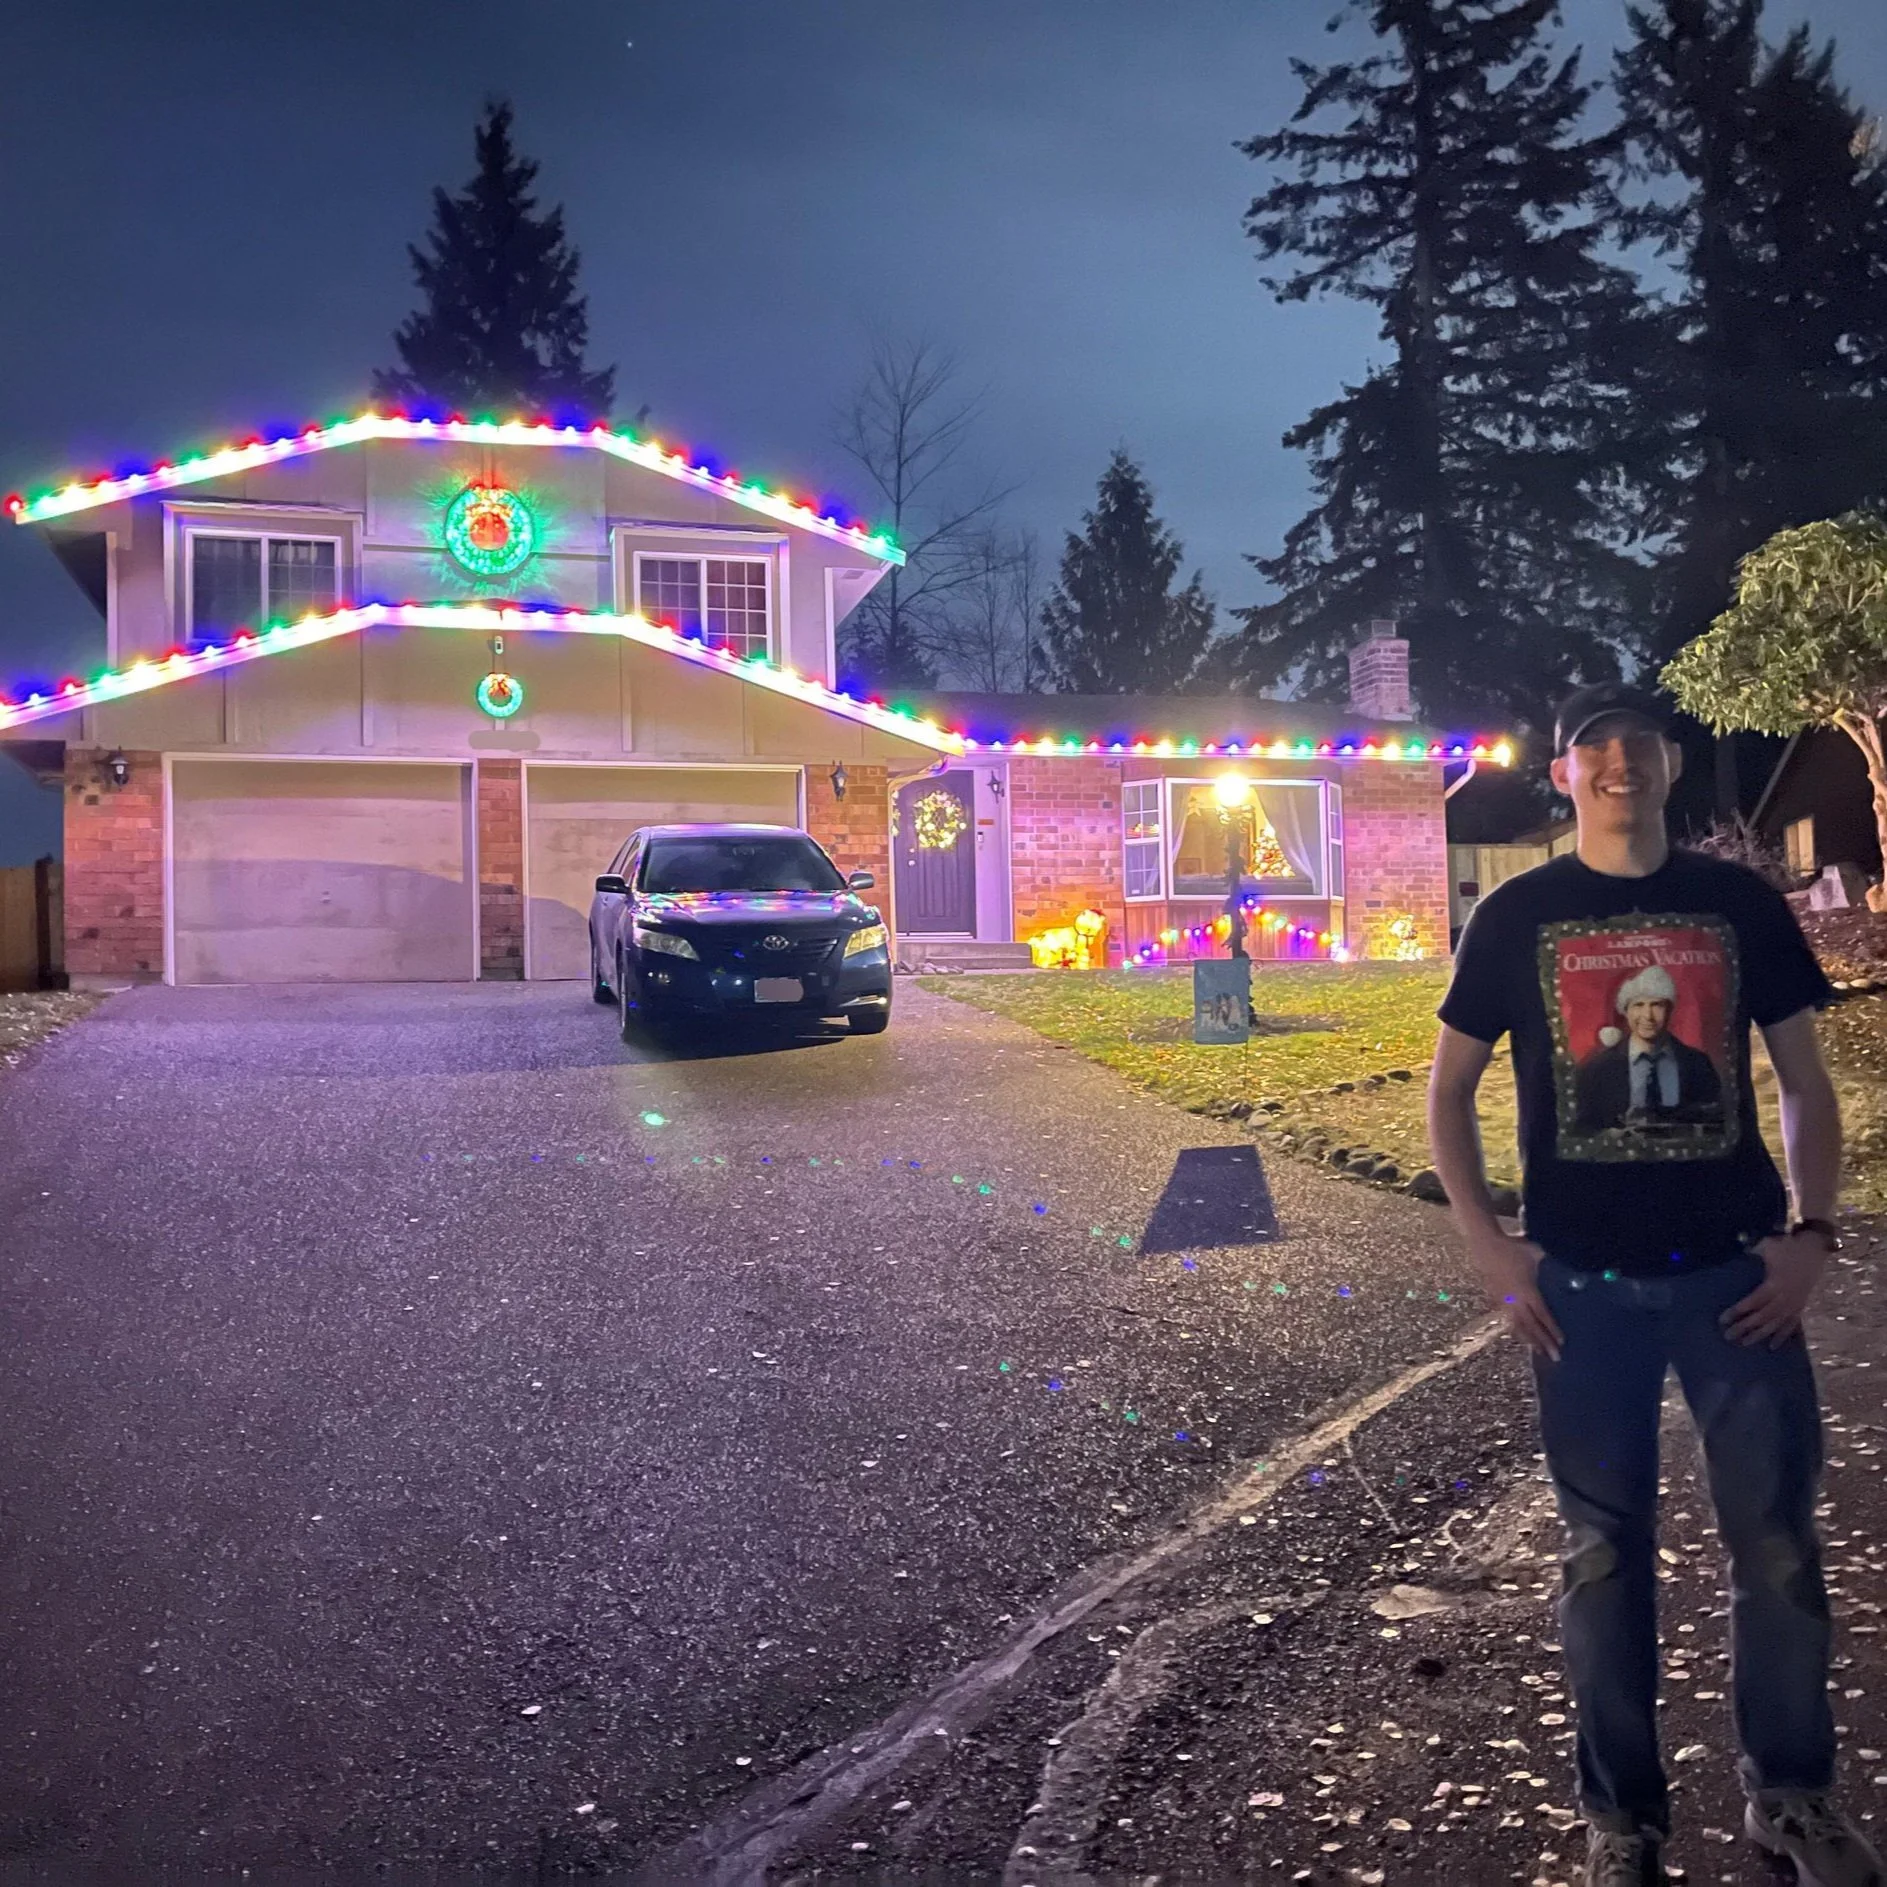
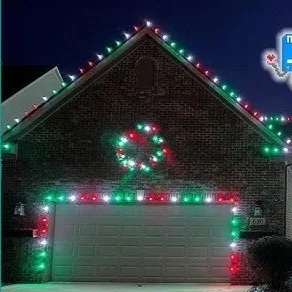
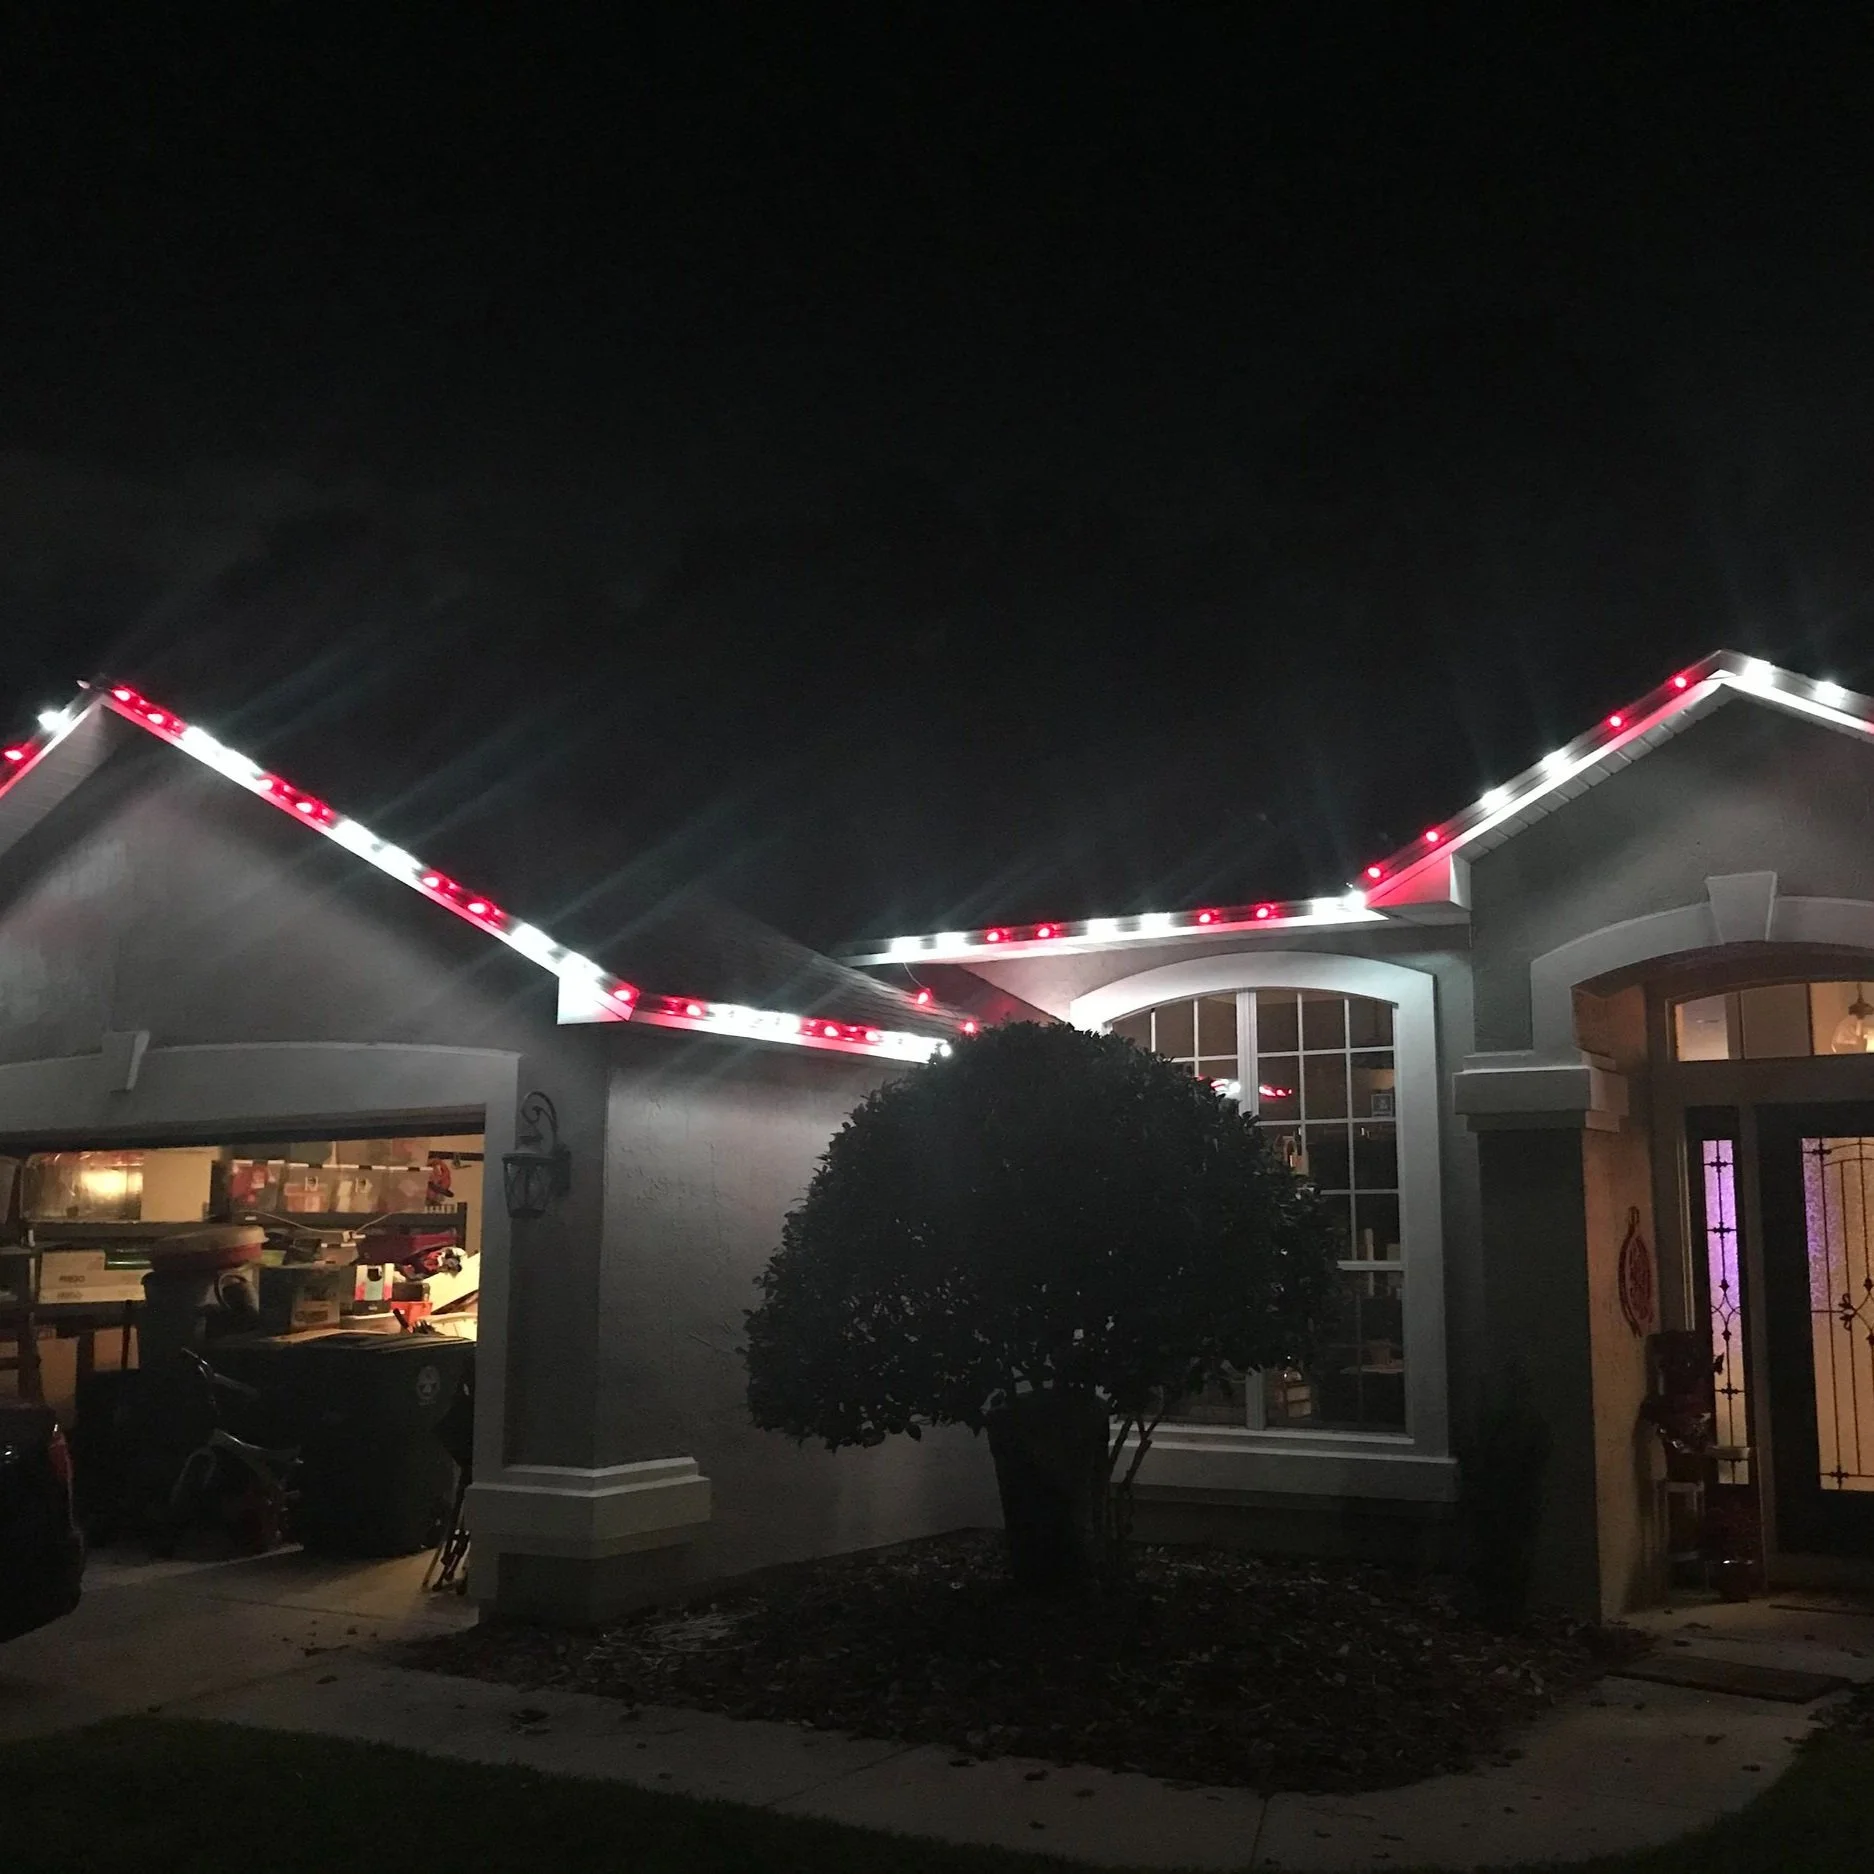
Create Your Perfect Holiday Display With the MyBrite LED Holiday Light Kit
Complete school funding transparency — Track everything with access to our live P&L!
☝️ Join our 2026 VIP customer list ☝️
-
What’s in the bag? Only the best!
Premium LED Bulbs: Shine bright with our energy-efficient, long-lasting LED lights that are perfect for lighting up your holidays.
Tuff Clips: These tough little guys are designed to hold on through wind, rain, and snow—keeping your lights secure and in place.
Male & Female Plugs: Perfect connections to customize your lighting setup without breaking a sweat.
Jumper Wire: Your secret weapon for connecting every corner of your roofline and creating a seamless holiday glow.
-
How fast can I light up the night? Pretty fast!
Standard Delivery (3-5 Days): Just enough time to grab your ladder and get your playlist ready. Your MyBrite Kit will be in your hands before you know it.
Express Delivery (1-2 Days): Can’t wait to get your lights up? We’ve got you covered—your kit will arrive in no time, so you can start shining ASAP.
-
Personalize your display, your way!
Pick Your Perfect Colors: Choose the color combination that matches your holiday spirit! Whether you prefer classic white, festive reds and greens, or something totally unique, the choice is yours.
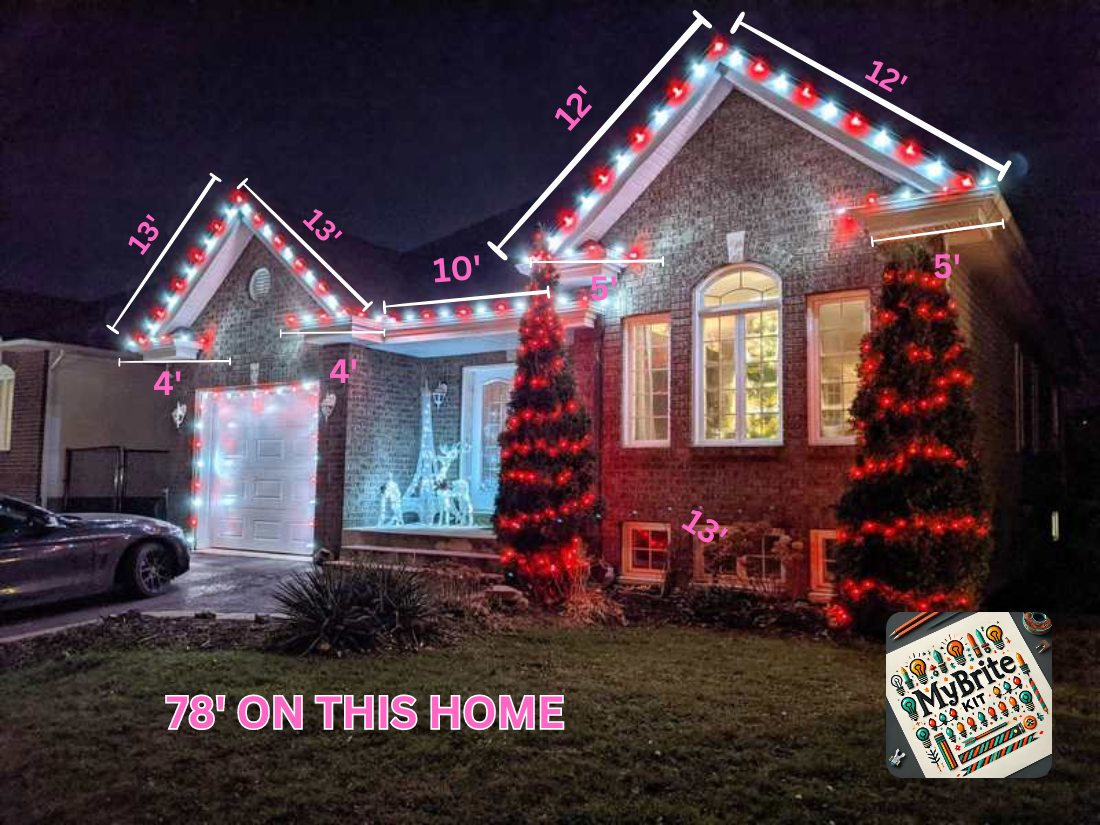
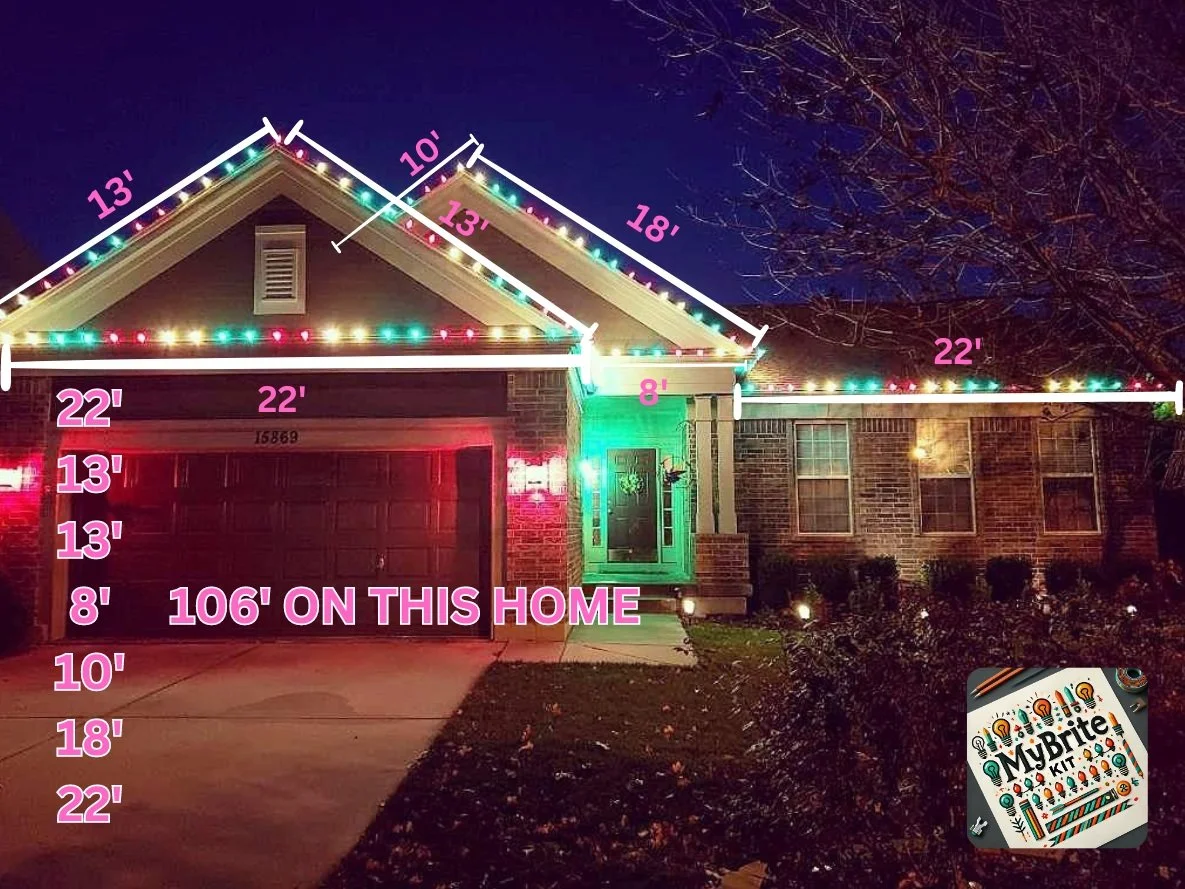
Sized Just Right: Our 100-foot kit is perfect for smaller homes or minimalistic displays, while the 150-foot kit ensures larger homes get the full holiday glow treatment.


Just a few easy steps to give you a glimpse of how simple it is to install—let’s get you started with confidence!
Unbox Your MyBrite Kit: Start by taking all components out of the box. You should have 100 feet of C9 roofline wire, 100 commercial-grade LEDs, 50 feet of bulk wire, vampire plugs, a timer, and tuff clips.
Lay Out the Roofline Wire: Begin by measuring out the roofline wire along the edge of your roof. Ensure the spacing matches the area you want to illuminate, and use the tuff clips to secure the wire in place.
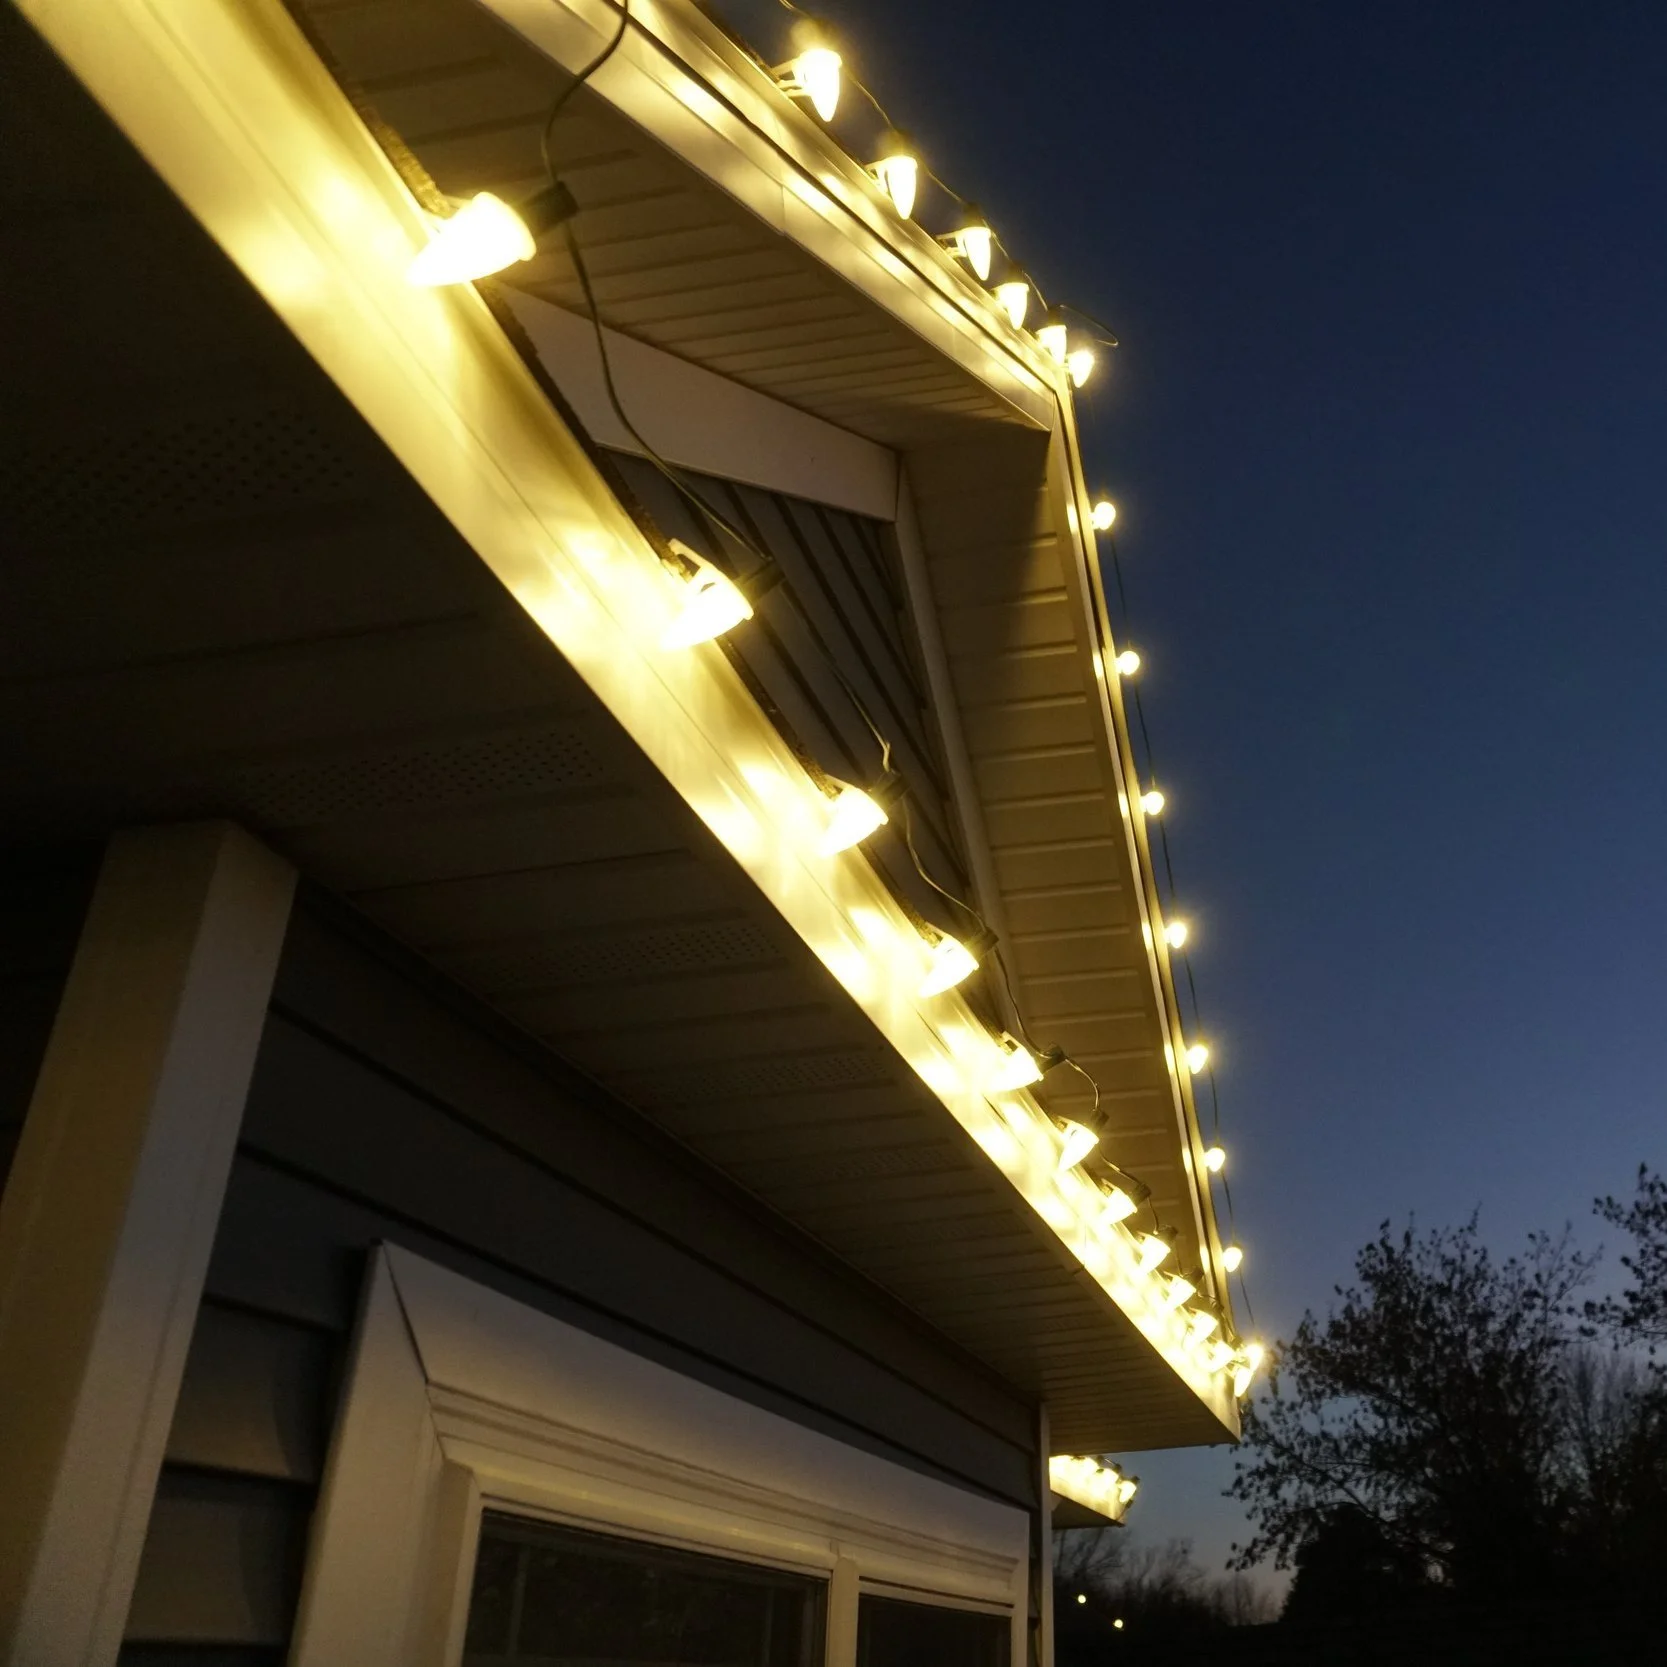
Inserting the LED Bulbs: Once the wire is laid out and secured, carefully insert the commercial-grade LED bulbs into the C9 sockets. Be sure to follow your selected color pattern (e.g., 1 white, 3 red, etc.).
Setting Up the Timer: Plug the wire into the provided timer and program it according to the time you want the lights to turn on and off automatically.
Add Bulk Wire if Needed: If you need extra length to reach your power source, use the 50 feet of bulk wire and vampire plugs to extend the distance.
Step 2: Clipping and Bulb Insertion
Attach the Tuff Clips: Secure the tuff clips along the roofline where you’ve already laid out your wire. These clips will keep the wire and bulbs firmly in place, ensuring the lights stay secure during bad weather.
Insert the Bulbs into Clips: After attaching the tuff clips, insert the bulbs into the clips. Ensure that each bulb is properly aligned and spaced according to your selected color pattern (e.g., red-white-blue).
Check the Alignment: Make sure all bulbs are facing outward evenly and are positioned securely in the tuff clips for a neat, professional appearance.
Test the Lights: Once all the bulbs are inserted and secured, plug the lights into the timer or power source to check that everything works as planned before finalizing the installation.


*Safety Reminder: Always prioritize safety and never install lights from the roof while bent over or crouched. Proper ladder use minimizes risks and ensures a more comfortable installation.
Step 3: Keeping the Light Lines Taut (Ladder Safety)
Start from One End Using a Ladder: Position your ladder at a safe angle and secure it on stable ground before starting. Using a ladder is the safest way to install your lights, as working from the roof can be hazardous. Avoid leaning over or crouching, which increases the risk of falling.
Work Along the Roofline with Your Ladder: Secure the first tuff clip and bulb at one end of the roofline, and then move your ladder along the roof as you continue installing. Each time you move, pull the wire taut, securing it to the tuff clips. This ensures that your light string remains straight and properly aligned without slack.
Proper Ladder Safety: While on the ladder, maintain three points of contact at all times (two hands and one foot or two feet and one hand). Avoid overreaching—always reposition the ladder to a safe distance as you move along the roof.
Final Check for Tension: Once the lights are fully secured, step back and inspect the roofline to ensure the wire is taut, and all clips are holding the lights in place securely. Adjust as needed before plugging in.
While we’ve walked you through the first steps of setting up your MyBrite Kit, we’re keeping the rest a surprise! But don’t worry—you’re not on your own. With our 24/7 live chat support and detailed instructional videos, you’ll have everything you need to create a stunning Christmas light display. Whether you’re an expert or a first-timer, we’re committed to making sure your holiday lighting is as smooth and successful as possible!